Hands up, I am a magpie. I am drawn to shiny things but I’ll be honest, I hadn’t actually noticed that foiled knitwear existed until I started looking. It turns out that lots of designers are using it – here’s a whole Pinterest board full of foiled knitwear inspiration – so I’m calling it a trend.
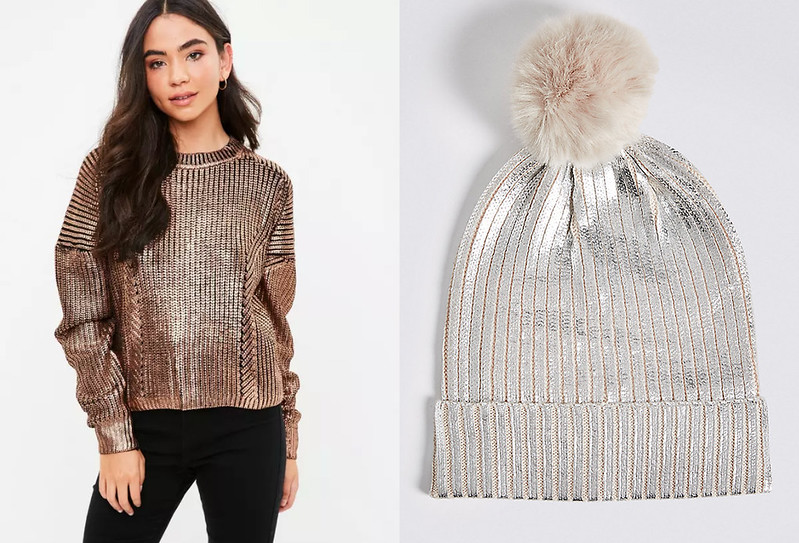
What I love about this concept is how incongruous these materials are – squishy, tactile knits coated with brash, glossy metal – like a comfy coat of armour. Here are a couple of examples from the high street that illustrate this trend perfectly:

Gold knitted foil coated jumper from Missguided, and Foil Knit Pom Winter Hat from good old M&S.
This curiosity was sparked a couple of weeks ago at The Knitting and Stitching Show when I chanced upon a small stand containing shiny things that turned out to be Tonertex foils. The helpful salesperson gave me a demo showing how to use their foils and glues on paper and smooth fabric. I was assured it would also work on the relief of a textured fabric and the best approach would be to simply brush the glue on. I came away with a tub of fabric glue, several packs of metallic foil and much excitement.
The basic principle is simple – a glue is applied to a surface. Once dry, foil, in the form of a powder that comes in sheets with a clear plastic backing, is transferred to the adhesive. The adhesives are either heat activated or pressure activated. Tonertex’s fabric glue is pressure activated, so the foil can simply be pressed onto the the glue, et voilà! Things are made shiny. The foil finish is washable at 40° and also copes with a bit of stretch.
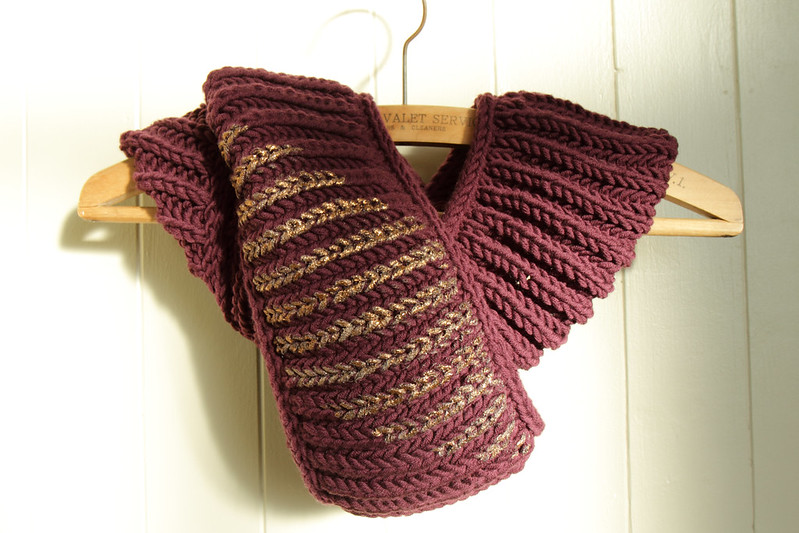
I wanted to try this for myself on a very textured knit, and there are few stitches more three-dimensional than Brioche, let alone super chunky brioche, so I fashioned an infinity cowl in Lang Yarn’s Merino 50 on 9mm needles.
I masked an area using parcel tape (less sticky to knits than masking tape), and applied what seemed to me like a generous coating of glue using a 1/2″ decorating brush.

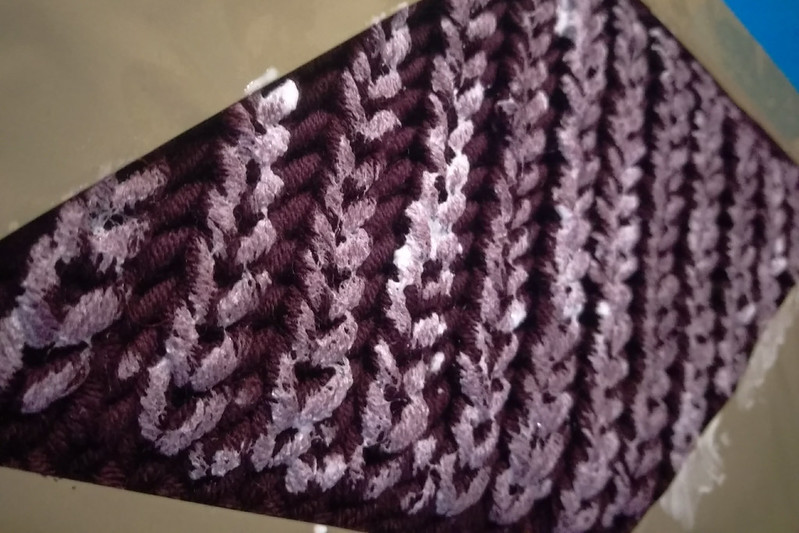
I waited for the glue to dry then applied the foil as demonstrated. I used the rounded corner of a coaster to apply the necessary pressure. Unfortunately this first attempt was a dismal failure! Almost none of the foil stuck to the glue (but plenty of it stuck to the glue that had strayed onto the tape) and there was only a faint smattering of glitter where I wanted shiny foil. It appeared that the glued had soaked into the fabric and hadn’t left enough of a surface for the foil to adhere to. I would guess that this glue was not intended for an absorbent, knitted fabric.
Not being one to give up easily, I applied another layer of glue over the first in the hope that it would be more likely to sit on the surface. This time I used a small artist’s brush for precise application and dabbed it on as thick as I could.
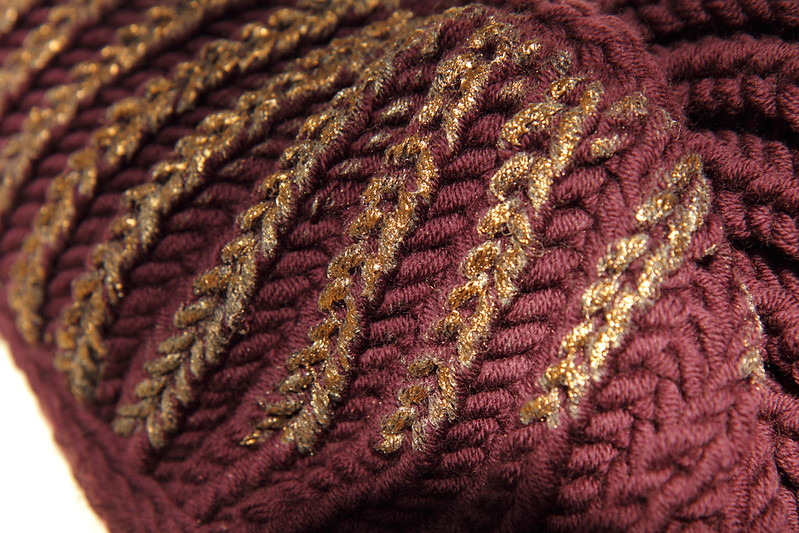
Success!
This is close to what I had in mind but it’s still lacking the really flat, blocky finish I sought. Luckily, one of my Instagram followers pointed me towards this super and very timely video tutorial from Sarah Shepherd on foiling knitwear. Sarah uses heat activated glue from handprinted.co.uk, which appears to do the job perfectly with the aid of an iron. Of course, if your knitwear contains synthetic fibres you may need to stick to a cold process with pressure-activated glue.
Both Handprinted and Tonertex sell a good range of foils, from the plain metallic, to wet-look black, holographic and iridescent. Art2Silk has an even bigger range (including leopard and neons, if you really must go there) and also sells a heat-activated glue for textile foil. Jones Tones Plexi Glue is an alternative pressure-activated glue that’s also mentioned regularly for use with textile foil.
I’m sure this is the first of many adventures in foil at It’s a Stitch Up Towers. I’d love to see your projects too!

