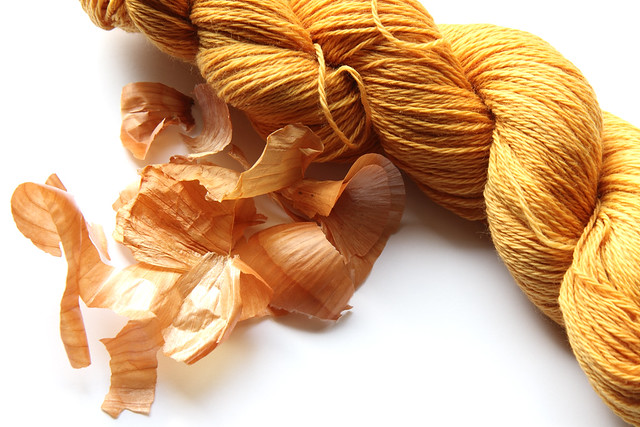
Onion skins are one of the most readily available and reliable natural dyestuffs. If you want an easy introduction to natural dyeing, start saving those onion skins!

Follow these instructions for dying wool, silk or other protein-based fibres (the process for dying cotton and other cellulose fibres is a little different).
Collecting onion skins

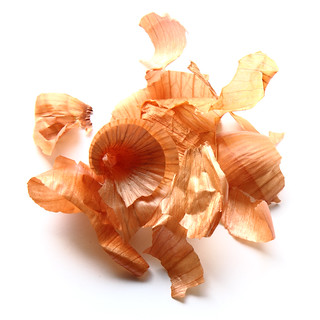
Yellow onion skins
You will need quite a lot of onion skins…for the skein pictured I used about 25g per 100g of wool. If you can’t wait (or you don’t like cooking) ask you local greengrocer – they will have plenty at the bottom of onion sacks.
Here are some tips for best results:
- Yellow onion skins give rich golden yellow to pumpkin shades. Red give greenish or brown colours. Stick to one or the other, mixing the two will give you murky browns.
- Make sure that the skins you save are free from dirt and black mold.
- Store onion skins in a paper bag so they dry out.
Other things you’ll need
- A stainless steel pan large enough to fit your yarn comfortably
- A fine sieve
- 10g salt per 100g yarn (optional)
Contrary to popular belief, salt is not required to fix the dye. It is used to slow the absorption of dye to give a more even coverage. Leave this out if you prefer a semi-solid colour – I usually do!
Prepare the yarn
I recommend using superwash yarn if you’re new to dyeing. There’s very little risk of felting and the superwash treatment seems to really help suck up the colour.
As with most natural dyes, you will need to mordant your yarn for the onion skin dye to bind to to it and it remain fast. Alum mordant will give the brightest shades. We’ve put together some handy instructions for mordanting wool and protein fibres with alum.
If you have pre-mordanted your yarn, soak it for at least 30 mins before dying to ensure an even coverage.
Prepare the dye
Simply place your onion skins in a stainless steel pan with enough water to cover and simmer for 30 minutes. You’ll notice the the skins become translucent and the water becomes coloured.
Strain off the coloured liquid with a sieve and return it to the pan, minus the onion skins. Add salt at this point (if desired) and stir until dissolved.
Dyeing and fixing
Squeeze the excess liquid from your yarn and add the yarn to the dye bath. Give it a good stir. You should see the yarn start to absorb colour immediately.
Slowly bring to the boil and gently simmer for 30 minutes, stirring occasionally. The liquid should magically become clear again as all the dye is absorbed by the yarn.
Ideally, the yarn should be allowed to cool to room temperature naturally before it’s removed to reduce the risk of felting. But if you’re using superwash, you can transfer it to tepid water to cool it quickly.
Give the yarn a good rinse. I give mine a proper wool cycle machine wash after dyeing to remove any excess dye and chemicals.
Admire your yarn

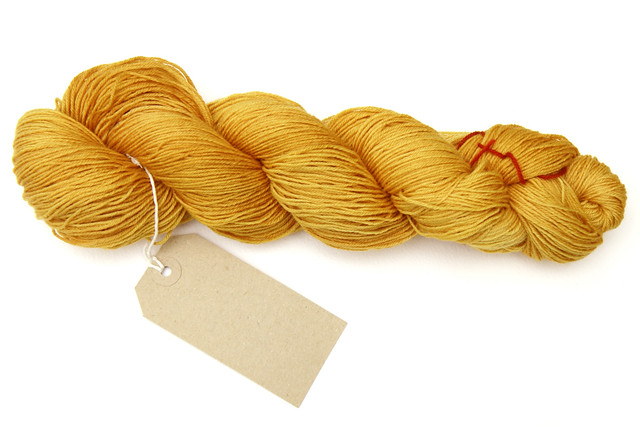
Onion skin dyed yarn
Hopefully you’re now revelling in dyeing success! Natural dyes should set as fast as synthetic dyes, although you’re likely to see the colour soften over time with washing and exposure to sunlight.
Onion skin shades beautifully compliment the subtle shades achieved with other natural dyes. Why not experiment with something else? DT Crafts stock a range of natural dye extracts.
Hi!
Just wondering if you have any tips or suggestions for storing natural dyes that are leftover. Fridge? Freeze? Room temperature and use asap?
Thanks!!
Hi Maria,
I think once in solution it’s best to use ASAP, but I don’t see why you couldn’t also freeze them.
How much water do you use? Thanks!
Hi Amy,
The amount of water is actually not that important. There needs to be enough water to cover the yarn, but the amount of water in the dye bath doesn’t actually affect the colour at all. I realise this sounds counterintuitive! It because obvious when you try it.
Thanks!
hi,
your idea is very nice ,
i can use onion skin dye for cotton fabric ?
Hi Foram, Yes, cotton can be dyed with onion skins too. You can find information about how to prepare cotton for dyeing here: http://www.wildcolours.co.uk/html/cotton.html
thank you