It looks like you’re reading this using a feed reader so the videos won’t show up. To see the embedded videos please visit the post page.
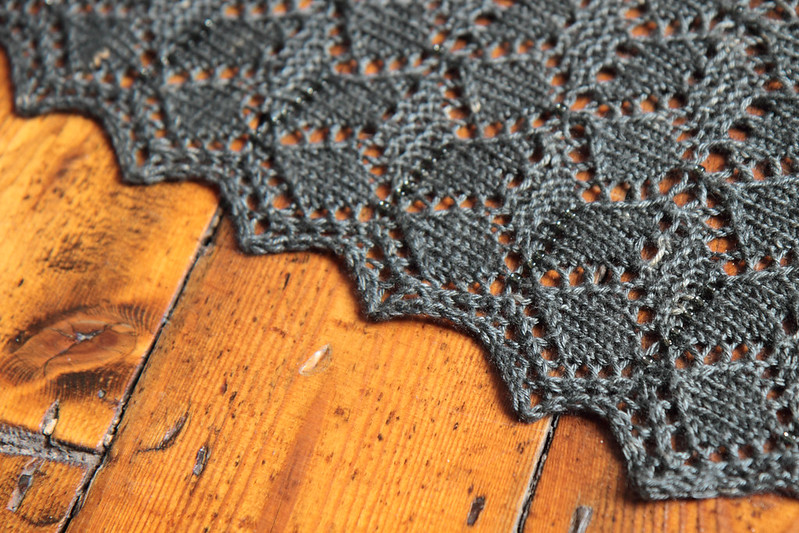
I’ve made a couple of video clips to help with the techniques in our Crystalline Shawl pattern. We’ve given Crystalline an ‘adventurous‘ skill rating because it combines lace knitting and beading, and requires a little concentration, but there’s no reason this can’t be your first beaded project if you have knitted lace from a chart previously.
Adding beads with a crochet hook
The crochet hook method of beading means that beads are added one-at-a-time, and there’s no need to string them all onto your working yarn before you start the project. In Crystalline, beads are added on the reverse side so that the knitter can focus on the lace pattern on the right-side rows. We’ve used a 1mm crochet hook and size 6 (4mm seed beads).
When you reach a stitch to be beaded:
- Pick up a bead with the crochet hook
- Insert the crochet hook into the next stitch and gently lift it off the needle
- Slide the bead over the end of the hook, onto the stitch
- Transfer the stitch back onto the left needle then work as normal (in this case purl)
Slipped edge stitches
On regular stocking (stockinette) stitch, slipping the first stitch of each row purlwise gives a nice-neat edge. Crystalline has shaped lace edging in which not every row’s first stitch is slipped (the charts and written instructions indicate which ones to slip), and they are slipped knitwise instead of purlwise, twisting the slipped stitches. On the right side this is pretty straightforward – with yarn in back, simply insert the right needle into the first stitch as if to knit, then simply slide it off the left needle without working. On the wrong side, it’s important to have the yarn positioned in front (as if to purl), and have the needle under the yarn before slipping the first stitch knitwise, as shown in the video below.
This gives a neat, sturdy and structured finish to the shaped edging.
