
This latest project was a spur-of-the-moment idea that combines some of my favourite things; clashing colours, geomentric patterns and modular construction. Normally I’d wait until a project is finished before sharing a tutorial but it’s quite simple so why wait?
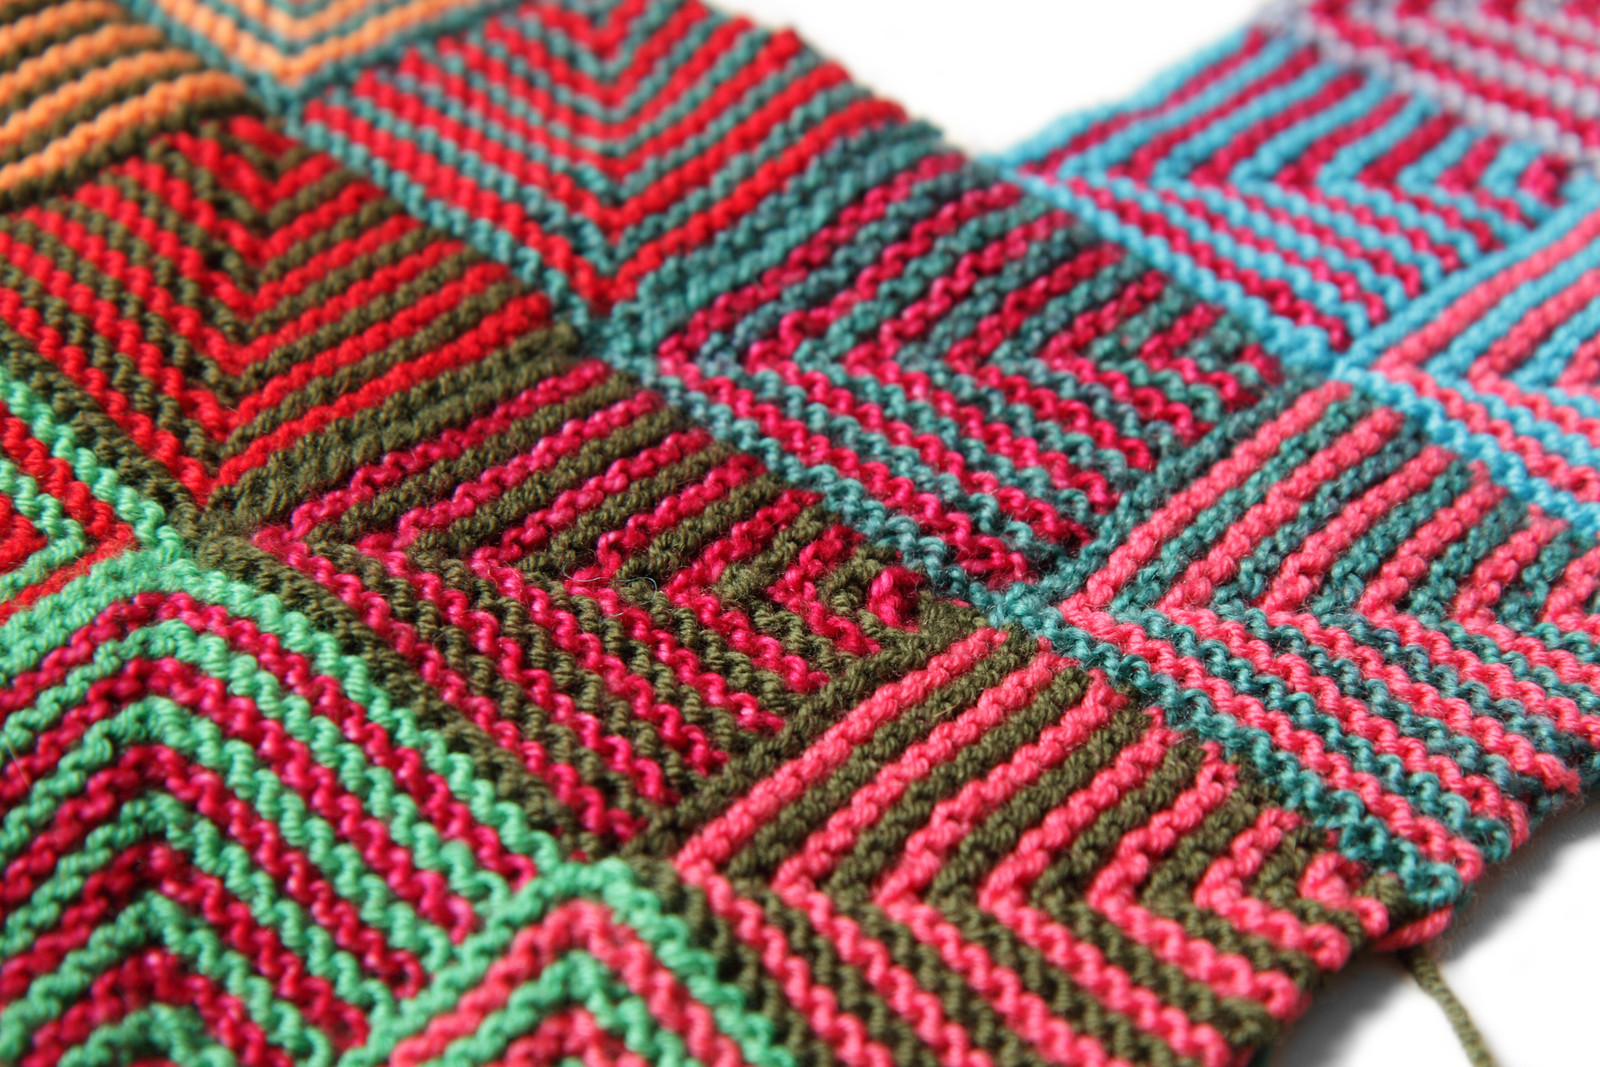
The blanket is constructed of garter stitch mitred squares, each worked in a two-colour stripe pattern with a different combination each time.
I’ve keep an extensive selection of merino 4 ply solid colours in my stash, mainly picked up in sales, which always come in handy for small Fair Isle projects and striped baby garments. I had no trouble picking out 20 shades for this project. You don’t need much of each (how much will depend on the desired size of your blanket, I used roughly 1g of each colour in each square). The main colours (MC) are carried along one axis and the contrast colours (CC) along the other.
I used cool colours arranged as a gradient for the main colours, carried along the short axis, and warm shades as the contrast colours. I think a blanket like this would also look great with neutrals along one axis and brights along the other, or limiting to one colour family only.

Direction of work
The blanket is worked outwards from the centre, with the mitres pointing away from the centre – this was to prevent the distortion of fabric that can occur when making a mitred square blanket with all mitres pointing the same way.
Instructions for each mitred square
First square
CO 31 sts with chosen MC
Row 1 (ws): K14, sl1, k2tog, psso, k14. 29 sts
Row 2 (rs): Using chosen CC, k all sts
Row 3: K13, sl1, k2tog, psso, k13. 27 sts
Row 4: Using MC, k all sts
Row 5: K12, sl1, k2tog, psso, k12. 25 sts
Row 6: Using CC, k all sts
Row 7: K11, sl1, k2tog, psso, k11. 23 sts
Continue in the manner established, decreasing on each even (ws) row, and alternating CC and MC every other row until the following rows have been worked:
Row 27 (CC, ws): K1, sl1, k2tog, psso, k1. 3 sts
Row 28 (rs): Using MC, k3
Final row (ws): Sl1, k2tog, psso. Cast/bind off remaining st
Subsequent squares
Rather than casting on all 31 stitches to start the square, you may be picking up 16 then casting on the remaining 15, or picking up all 31 from previously worked squares, depending on where you are within the grid. Always pick up with right side facing. The diagram below shows how picked-up stitches should be distributed.
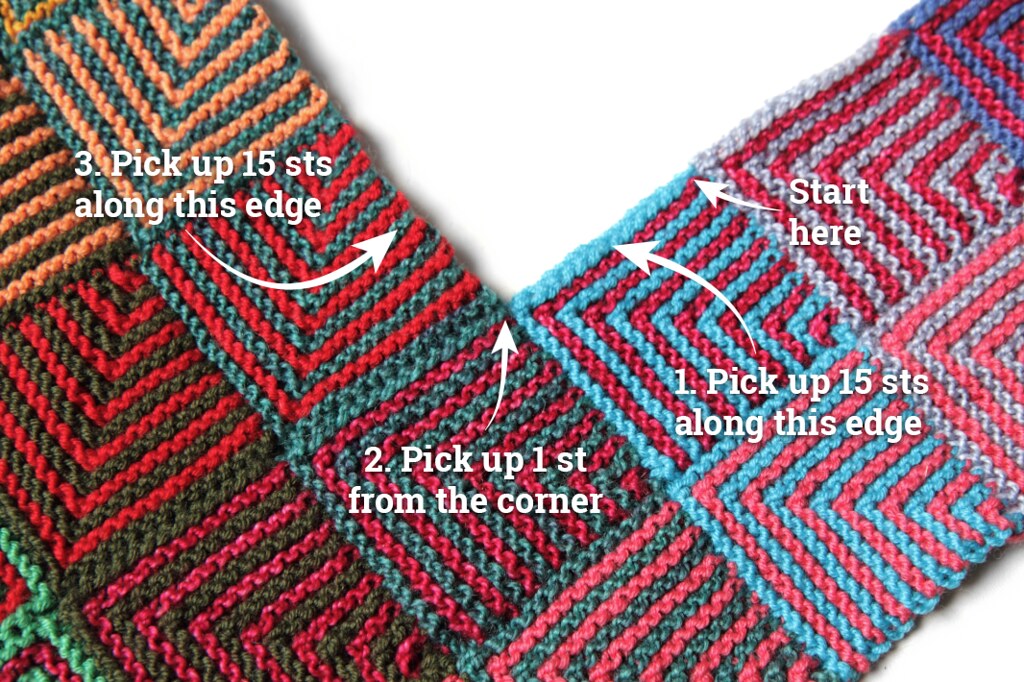
Picking up for a new square
My blanket is 12 squares long and 8 squares deep, and measures 42 x 66 cm (16 x 26″) but I intend to add a deep garter stripe edging.
Don’t forget to share your project if you have a go at this! I’d love to see how it looks with different colour combinations. I’ll post mine as soon as it’s done.
Abbreviations
CC: Contrast colour
CO: Cast on
k: Knit
k2tog: Knit two together
MC: Main colour
psso: Pass slipped stitch over
rs: Right side
Sl: Slip
St(s): Stitch(es)
ws: Wrong side
