
This stitch forms a stable, sturdy fabric that combines the appearance of and favourable properties stocking (stockinette) stitch and 1 x 1 rib. We’ve used it in our Cauldhame scarf pattern.
Unlike stocking stitch, it does not curl in either direction and provides a structured edge; unlike rib, it’s horizontally stable and doesn’t stretch out of shape. It is not reversible but looks acceptable on both sides. I prefer the look of the side that has the knit stitches slipped so I’m going to refer to that as the right side.
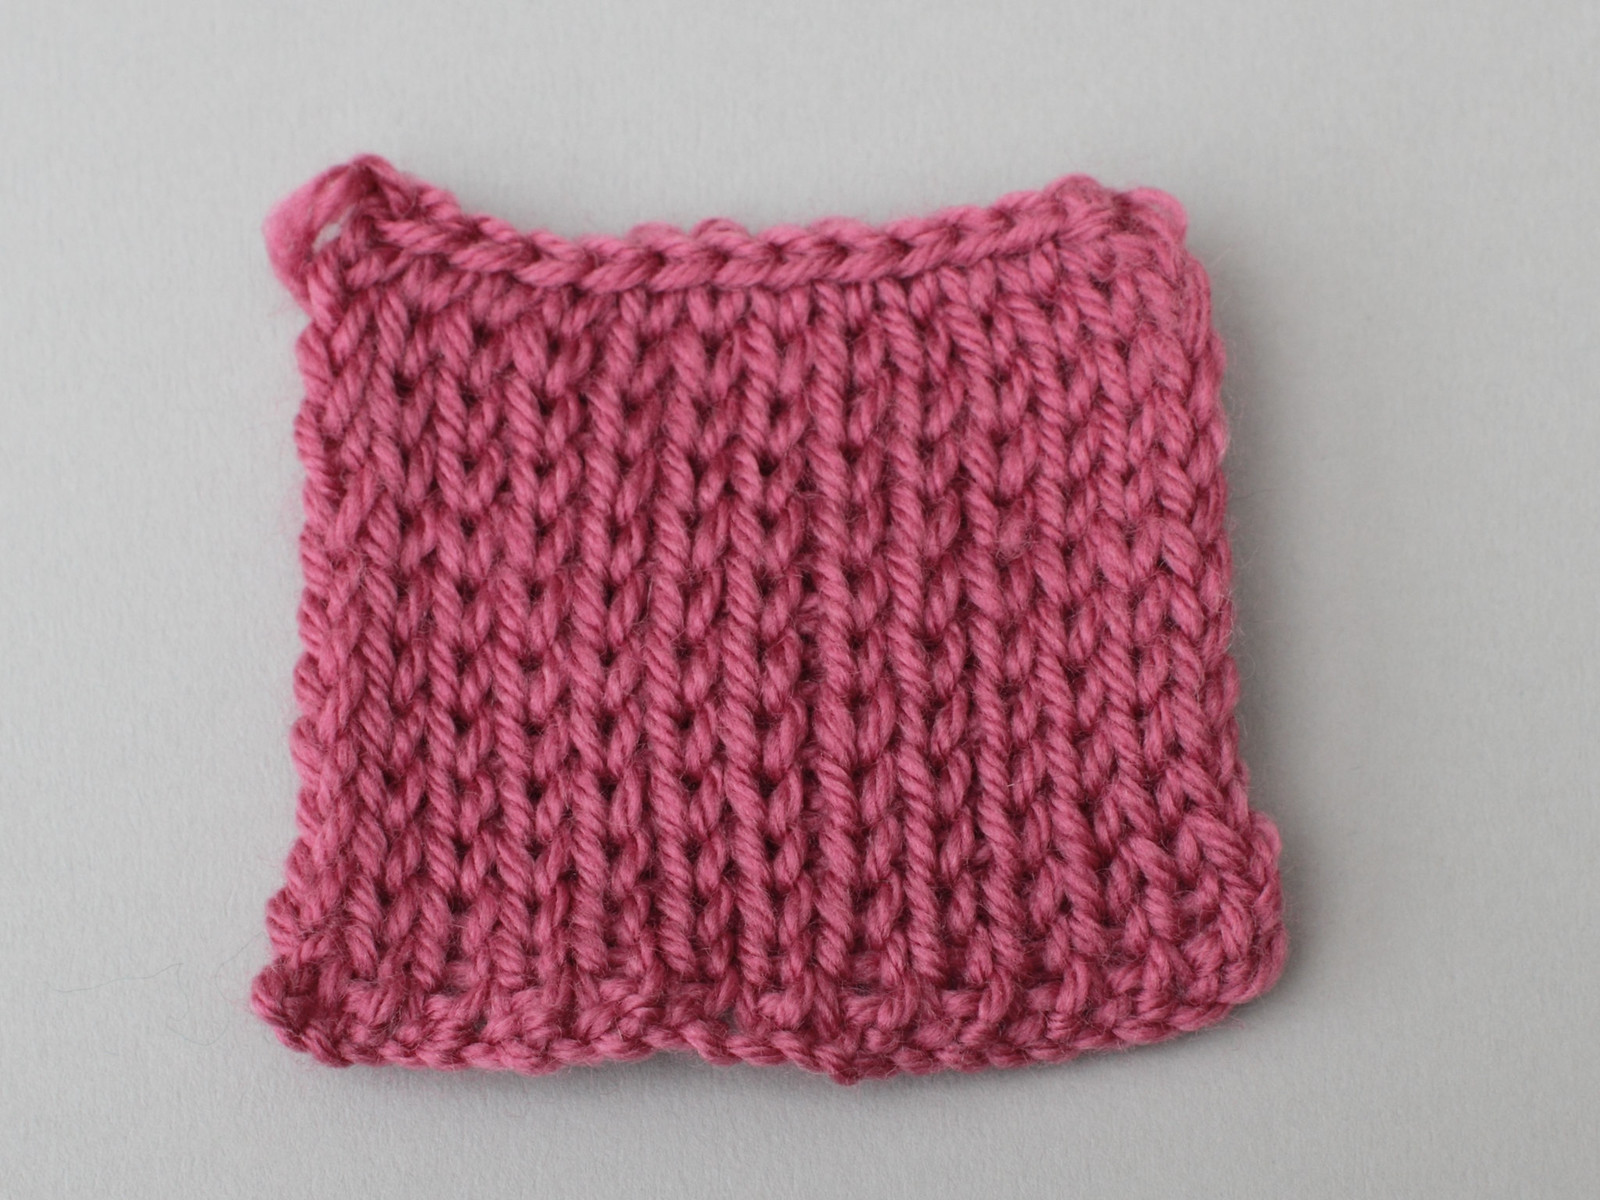
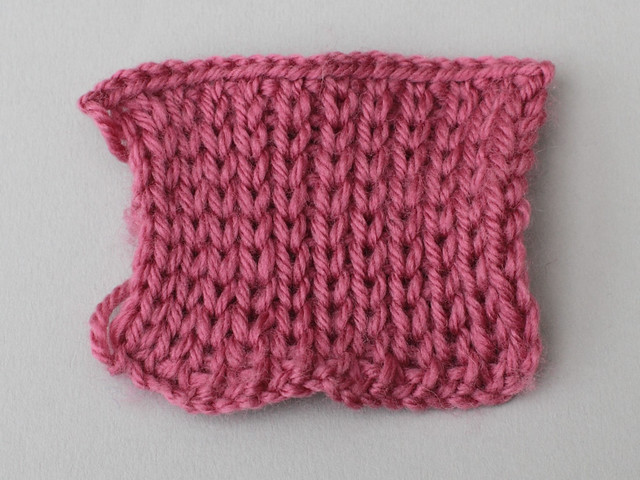
1×1 slipped rib, right side

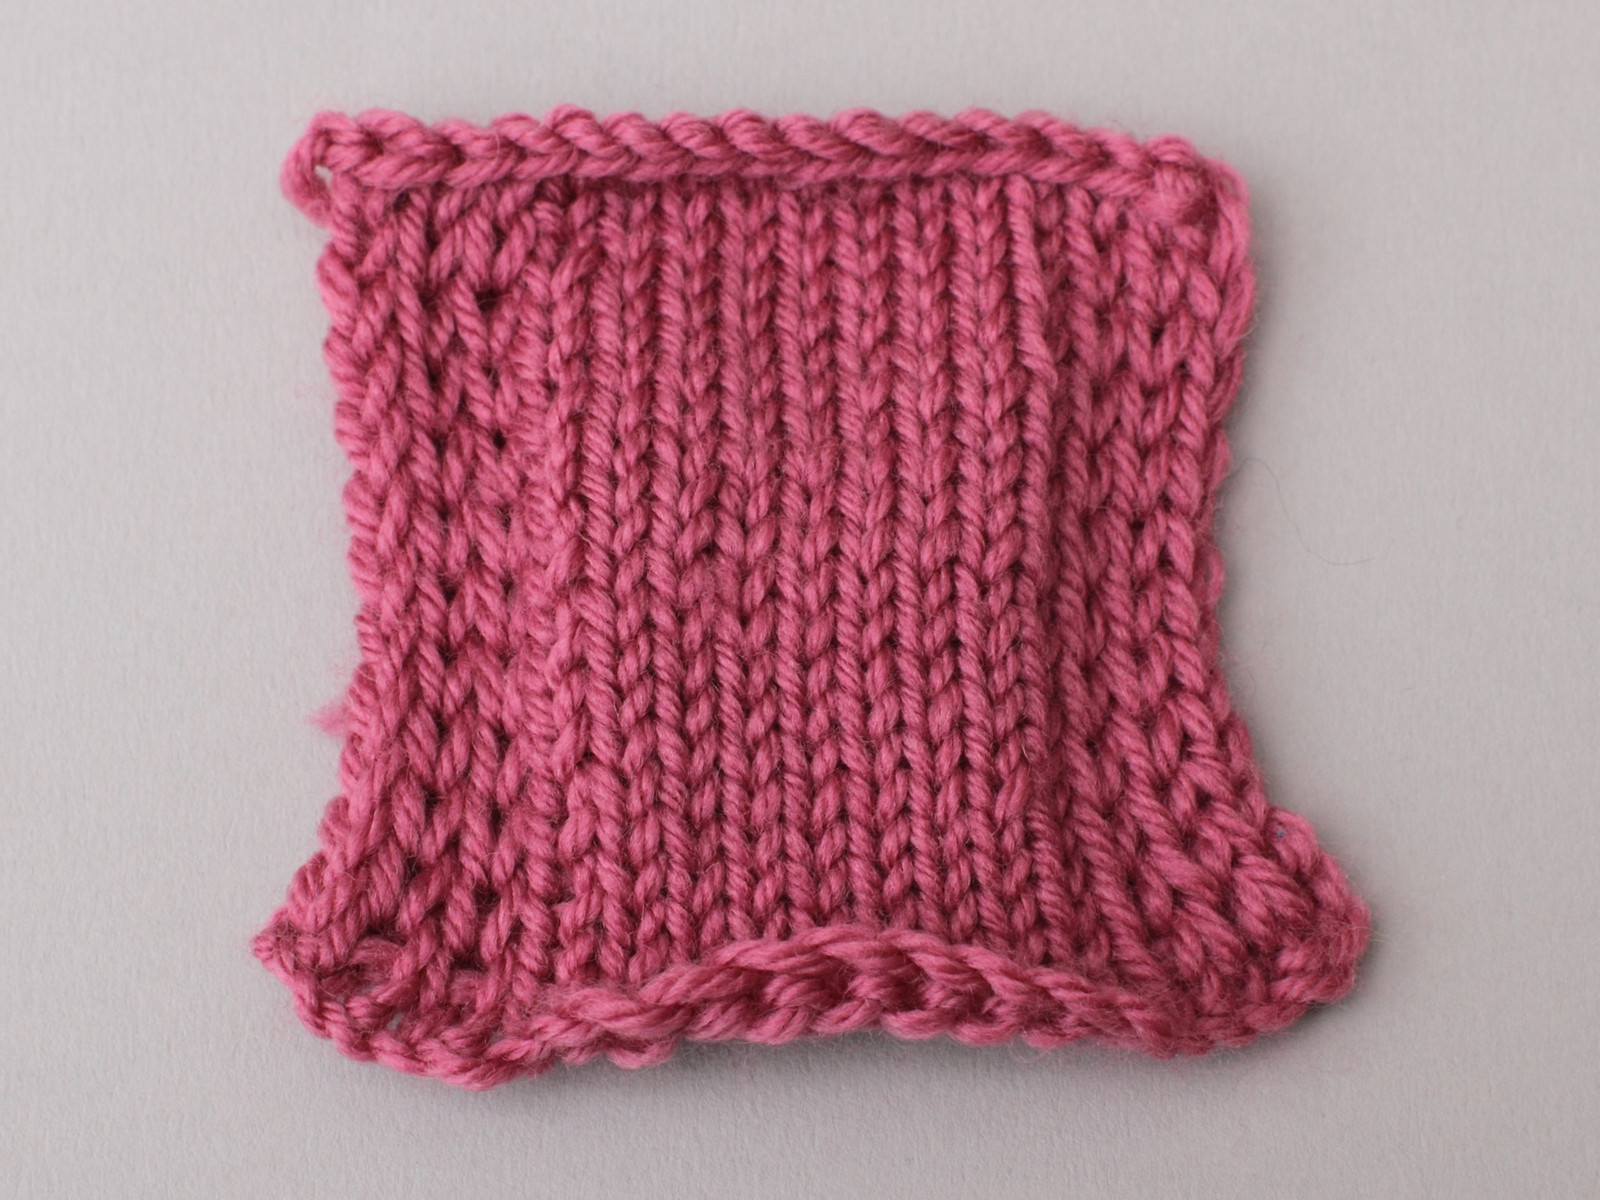
1×1 slipped rib, wrong side
This stitch is often used for button bands on commercial knitwear, but for reasons I cannot explain doesn’t seem to appear in hand-knitting. I can’t find this incredibly useful stitch in any of my books or any mention of it online so I’m publishing instructions. I’m calling it 1×1 slipped rib for want of another name, but if you know what it is actually called, please say!
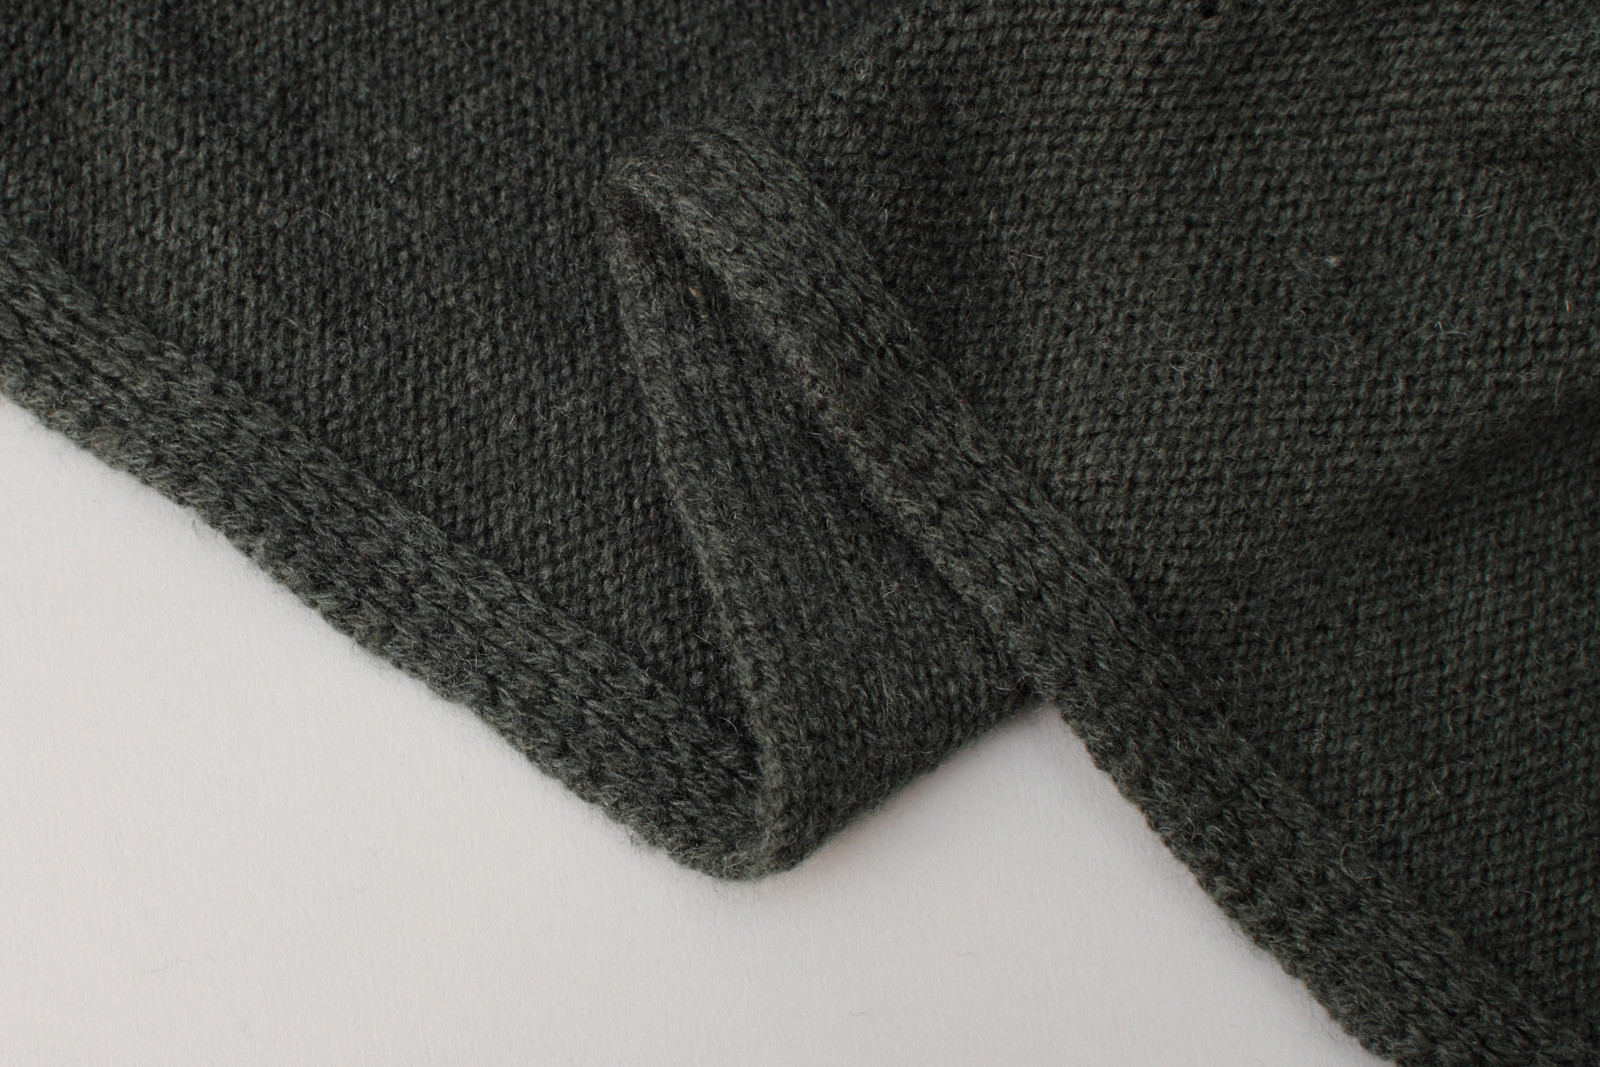
Applied 1×1 slipped rib on a commercially knit garment. Here it’s used the opposite way to my example, with the elongated slipped knit stitches on the reverse.
In the flat, the stitch can be worked in two ways. The results are identical so choose whichever works best for for your knitting style or application.
Method 1 – slip on right side
Worked over an odd number of stitches
Right side: [wyib sl1p, p1] to last st, wyib sl1p
Wrong side: [p1, k1] to last st, k1
Method 2 – slip on reverse
Worked over an odd number of stitches
Right side: [k1, p1] to last st, k1
Wrong side: [wyif slp1, k1], wyif slp1
1×1 slipped rib in the round
Worked over an even number of stitches
Row 1: [k1, p1] to end
Row 2: [wyib sl1p, p1] to end
Inline 1×1 slipped rib edging
Perfect for a sturdy button band, or attractive, non-curling edge for stocking stitch
Stocking (stockingette) stitch with 6 stitches of applied 1×1 slipped rib edging each side
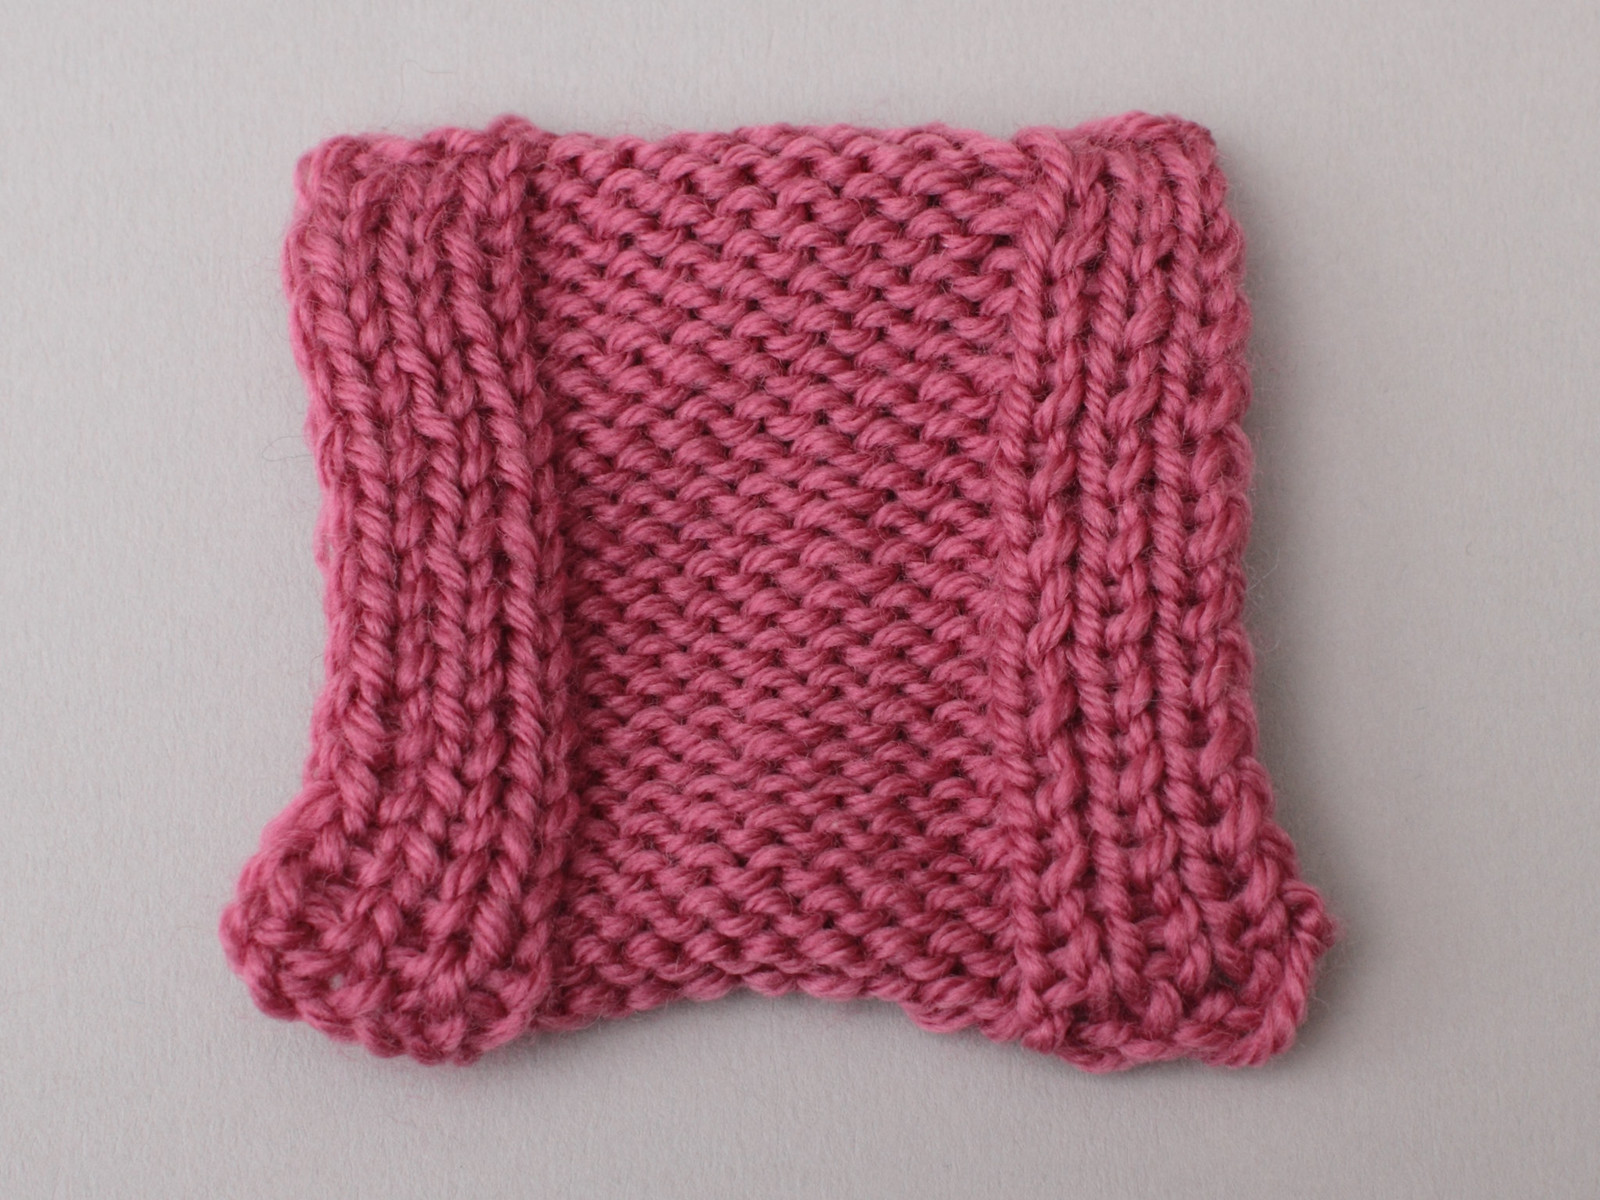
Inline 1×1 slipped rib edging, reverse side
Can be worked with any even number of stitches at each edge, this example uses 6 sts.
Right side: [k1, p1] 3 times, work in pattern to last 6 sts, [p1, k1] to end
Wrong side: [wyif slp1, k1], work in pattern to last 6 sts, [k1, wyif slp1] to end
Casting on and off
With 1×1 slipped rib the columns of stitches sit closer together than stocking stitch. A regular cast off (bind off) gives an edge that’s too long. This doesn’t matter if the number of slipped rib stitches is small (e.g. an applied edging), but across a larger number of stitches this will cause the fabric to pucker.
1×1 slipped rib swatch with regular cast off (bind off). The cast off causes the swatch to stretch out at the top edge.
A more compact cast off is needed for the edge to sit correctly. For the previous swatches, I worked the cast off over the slipped rib sections as follows:
Cast off (bind off): K1, [k2tog loosely, pass previous st over last] to end
I worked a standard knitted cast on on all swatches, which didn’t case the same level of puckering as the cast off so I made no adjustments. Aside: I didn’t block any of my swatches, they’re straight off the needles. In the applied edging swatch it’s the stocking stitch that’s mostly responsible for the puckering at the lower edge. If you want the slipped rib cast on edge to sit really nice and tight, you could instead cast on half the number of stitches you require (or (n-1)/2 + 1 if you need an odd number), and work a set up row working kfb in every stitch (or k1, [kfb] to end if an odd number of stitches is required).
I recommend experimenting to get the right tension and appearance over your cast on and cast off as this will depend how you’re using 1×1 slipped rib in your project.
Abbreviations
- CO
- Cast on
- k1
- Knit one stitch (yarn held at the back as normal)
- k2tog
- Knit two stitches together (decrease one stitch)
- kfb
- Knit through front loop then back loop of stitch (increase one stitch)
- p1
- Purl one stitch (yarn held at the front as normal)
- sl1p
- Slip one stitch purlwise – put right needle into next stitch as if to purl and transfer to right needle without working
- wyib
- With yarn in back – if necessary, bring yarn from front to back between needles
- wyif
- With yarn in front – if necessary, bring yarn from back to front between needles
- []
- Repeat instructions inside brackets as specified

I “revented” this stitch from the the pattern I found here: http://www.knitca.com/slipstitch21 which makes what looks like a K1 P2 rib. It didn’t have a name, only a number. I fell in love with the single rib slip stitch I’d come up with, and was surprised that I couldn’t find it in any stitch dictionary. I have found a crochet stitch with what I think is an appropriate name, once modified to put things in the proper order. What do you think of the Slip Stitch Back Loop Single Rib ?A bit long, I know. Or simply, Slip Stitch Rib Revisited? Single Slip Stitch Rib? Slip Stitch Single Rib? You revented it before I did, so you get first dibs on naming it. :)
It’s not just me then! Whatever it’s called, I can’t believe this stitch doesn’t appear in stitch dictionaries etc, it’s so useful!
In machine knitting it is referred to as a Half Milano inside stitch. It is often used to finish a panel edge, for a slit opening.
Thanks Wendy – mystery solved!