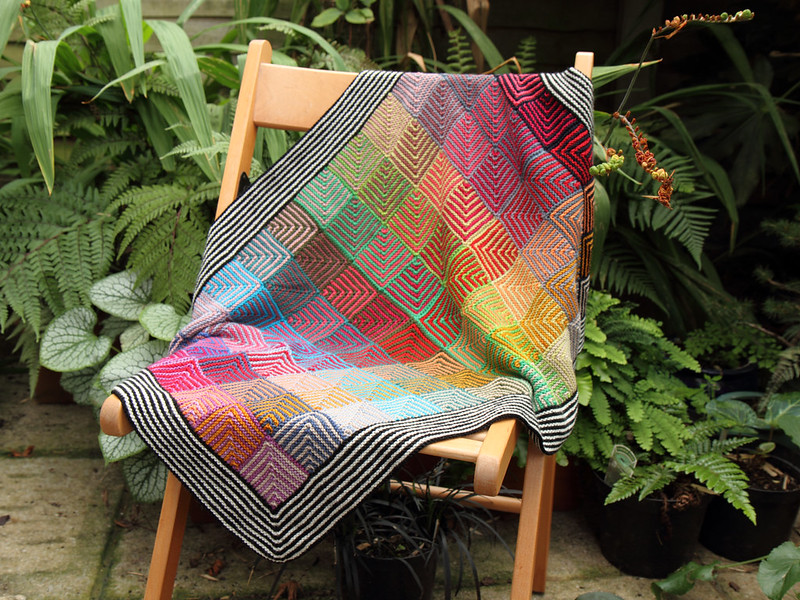
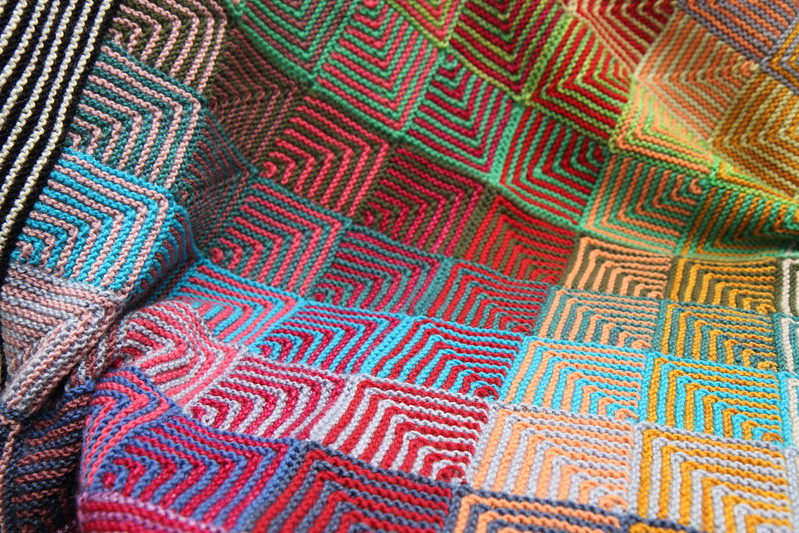
It’s finished! I am mighty pleased with it now it’s complete, you can really see the colours blend into a gradient.
(Want to make your own? Have a look at the instructions here: Colourful Blanket WIP and tutorial). Instructions for the edging are below.
The great things about this project is that the individual squares are manageable a bite-sized piece of knitting (30-40 mins for me), each square is unique which keeps it interesting.
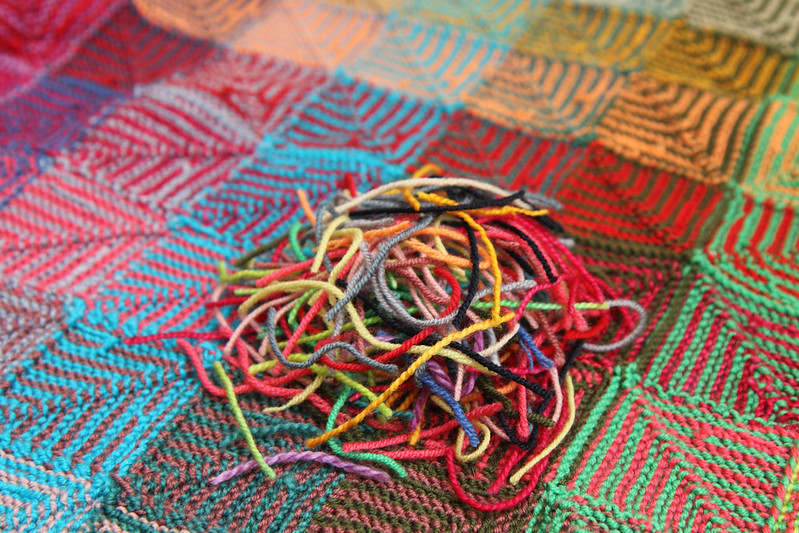
You might thing that because there’s no seaming the finishing is quite quick but there was a mountain of ends to weave in.
I did consider knitting in the ends as I went but this would have left bulky areas at the bottom of each square, which would have led to the squares being, well, off square.
Edging
I wanted the edging to be nice and thick, the same width as the squares. This meant that adding the edging was quite arduous, it being the equivalent of 40 squares worth of knitting (almost half the blanket again).
Creating the edging is very simple:
- To begin, pick up 15 stitches along each square (just like the squares themselves), pick up an extra stitch at each corner and place markers on the corner stitches
- Working in garter stitch, make a double increase in each corner stitch (I did kfbf)
I used two circular needles to work the whole edging in one piece, but I worked back and forth and mattress-stitched the corner seam to avoid an ugly jog between the back and white stripes at the start of the row. If you don’t fancy knitting the edging all in one go or you don’t have enough needle cable, knit one side at a time and seam the corners.
I am still unsure about my choice of black and white for the edging as it’s high contrast compared with the other colour combinations. Maybe black and grey would have worked better, but the internet has giving it the thumbs up, so who am I to argue?


