
My latest sewing FO has been one of those rare projects where I had a spark of an idea in my head and it all came together without a real plan. I dreamt of a 50s style, mid length gathered skirt in a floaty, abstract-print and that’s exactly what I got!
First came the fabric. I had been searching for the right print, without really knowing what I was looking for except that I’d know it if I saw it. The first one I fell for was Lulu Cerise silk from Til The Sun Goes Down, but at £38/metre I just couldn’t. I held out, and found the perfect thing from my new favourite fabric store, Stoff & Stil.
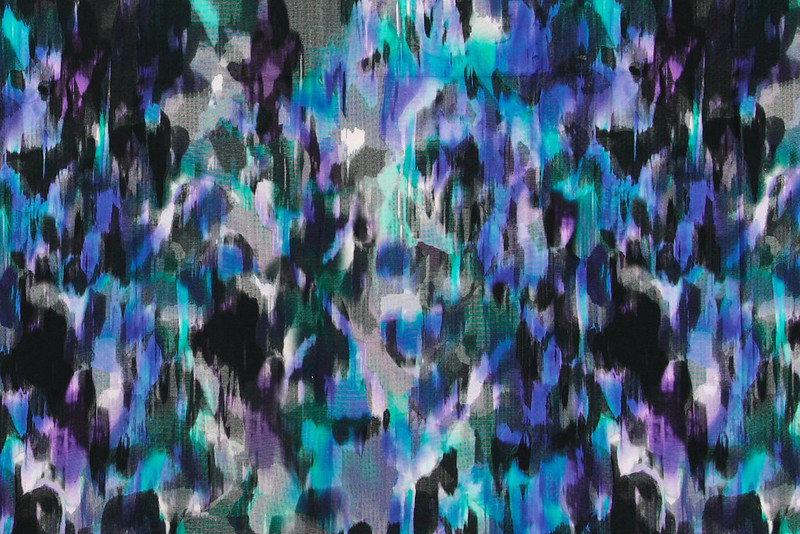
Woven viscose in watercolour print from Stiff & Still
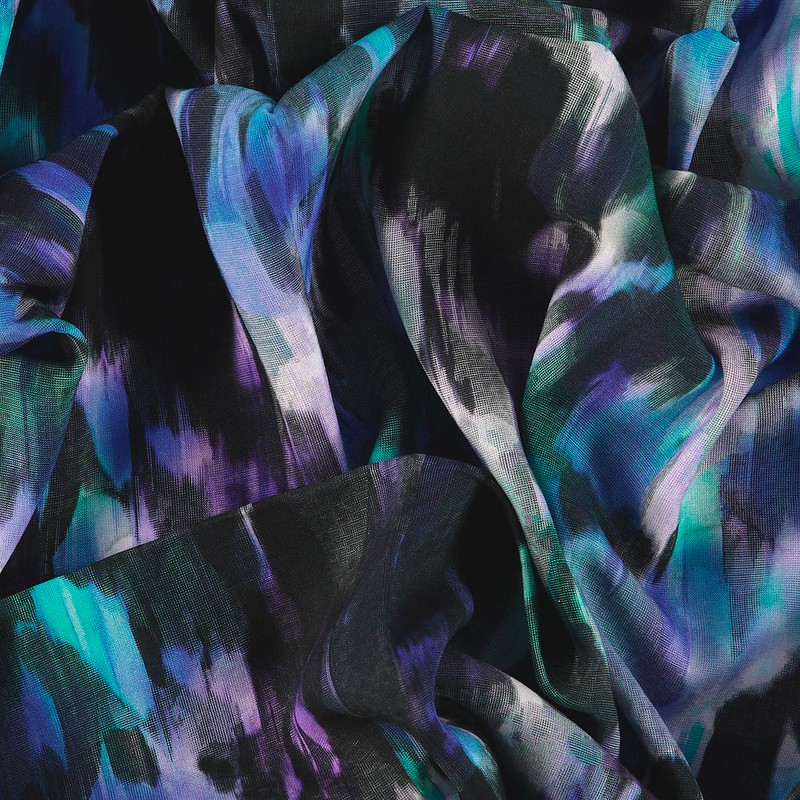
This viscose has such a soft feel, lightweight drape and matte finish, making it perfect for this project. Viscose holds a crease well for the purposes of sewing, but doesn’t really need ironing after washing. It is also biodegradable, which for me is a must-have for new fabric purchases.
And the print… just, wow. If you’re looking at this thinking you’d like to get your hands on such a mighty fine fabric, I’m really said to say it’s already discontinued.
Secondly, I needed a pattern. It’s quite a basic design so I could have drafted my own, but I had no idea how much gather would be the right amount of gather and at the moment I just want an easy life.
I feel like I scoured the internet and looked at every skirt pattern that has ever been printed and still didn’t find my dream skirt, and eventually settled for one that was kind of close enough.

McCalls M6706 pleated skirts
McCalls M6706 had the right amount of gather, and the right length (view D), so it was just a question of turning those pesky pleats into gathers. This was much easier than going the other way around – instead of cutting skirt pieces that are shaped at the top where the pleats meet the waistband, I cut them with a straight top (a simple rectangle).
This is my first project with my new sewing machine. To form the gathers I followed the excellent instructions in the machine’s manual, which involves slackening the tension on the spool thread (I’ve been doing it wrong all this time) to sew the tramlines.
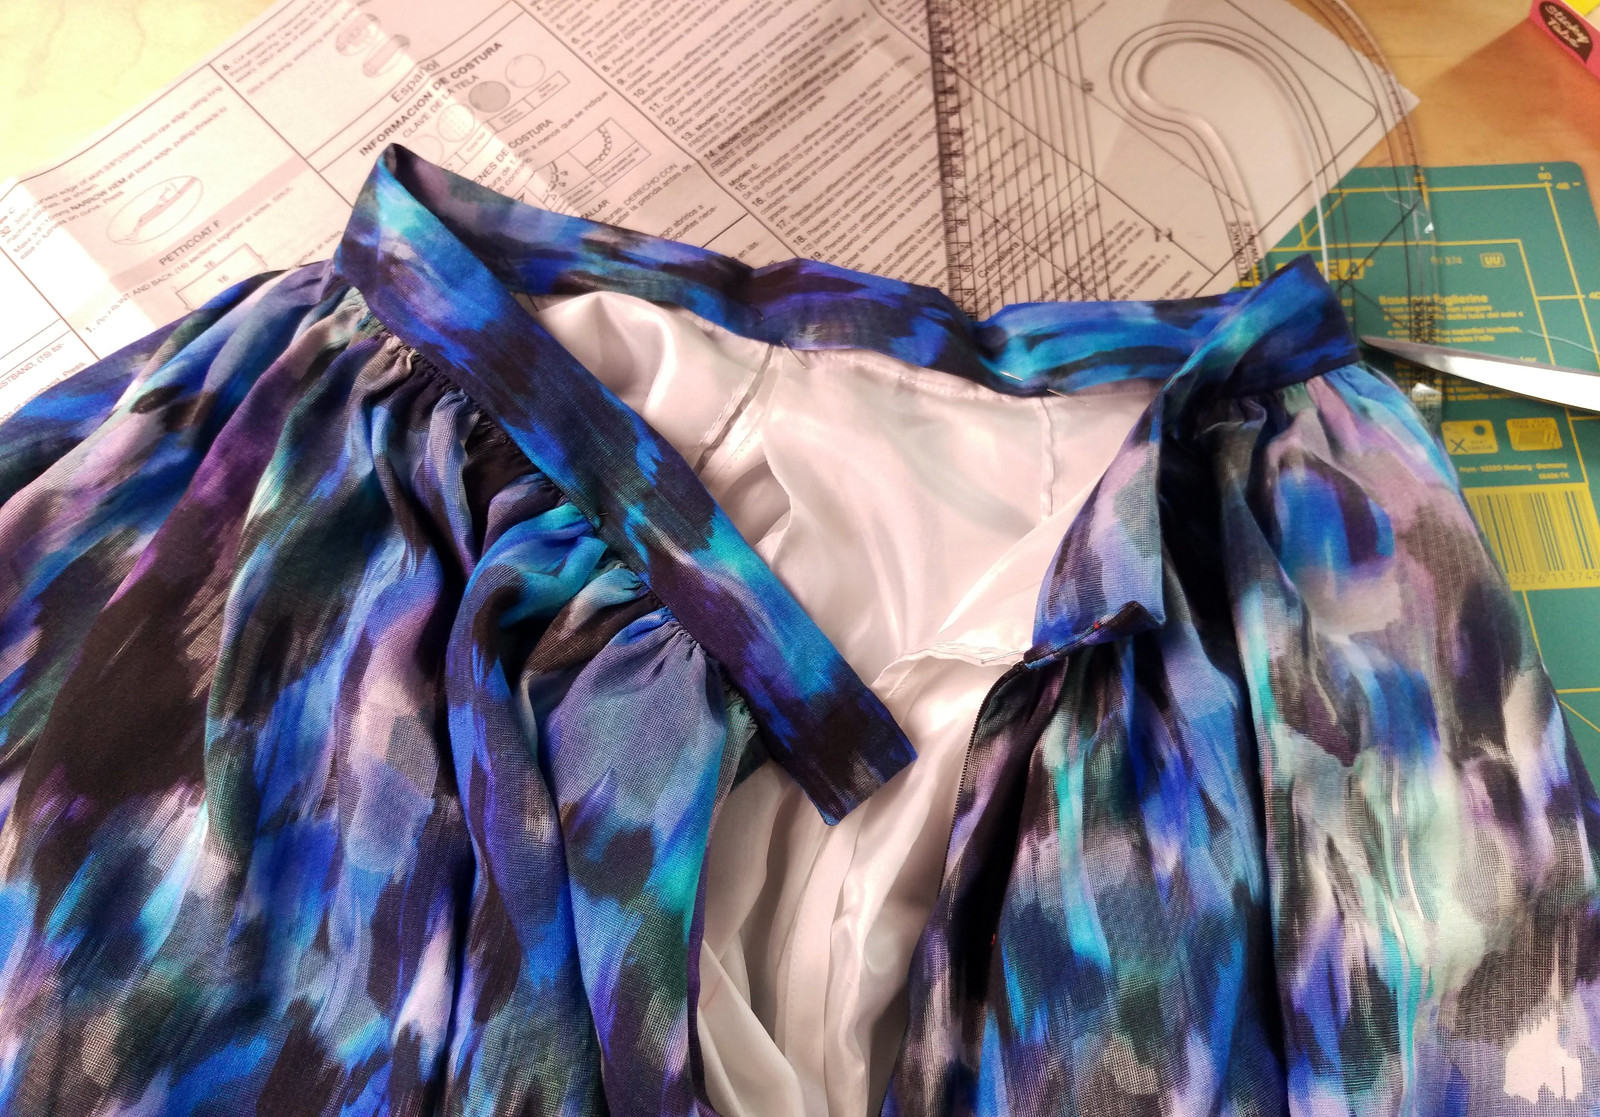
Gathered skirt in progress
When I had made the skirt, it felt a tiny bit too sheer, so I added a lining made from some left-over Habotai silk. This I pleated as per the pattern because I didn’t want another layer of gathering adding bulk to the waistband.
The only other mod was to narrow the waistband because I don’t have much of a waist anymore!
I used many of the sewing machine’s new-to-me features to achieve a great finish, including shifting the needle position when sewing the concealed zip in order to get really close to the teeth, and blind hemming. This is something I’ve never tried before, it involves folding the hem in quite a complex way, sewing very accurately along one of the foldlines using a special stitch that just catches one of the layers underneath, then folding it flat and magic happens. Again, I followed the simple instructions in the manual and it worked out well.
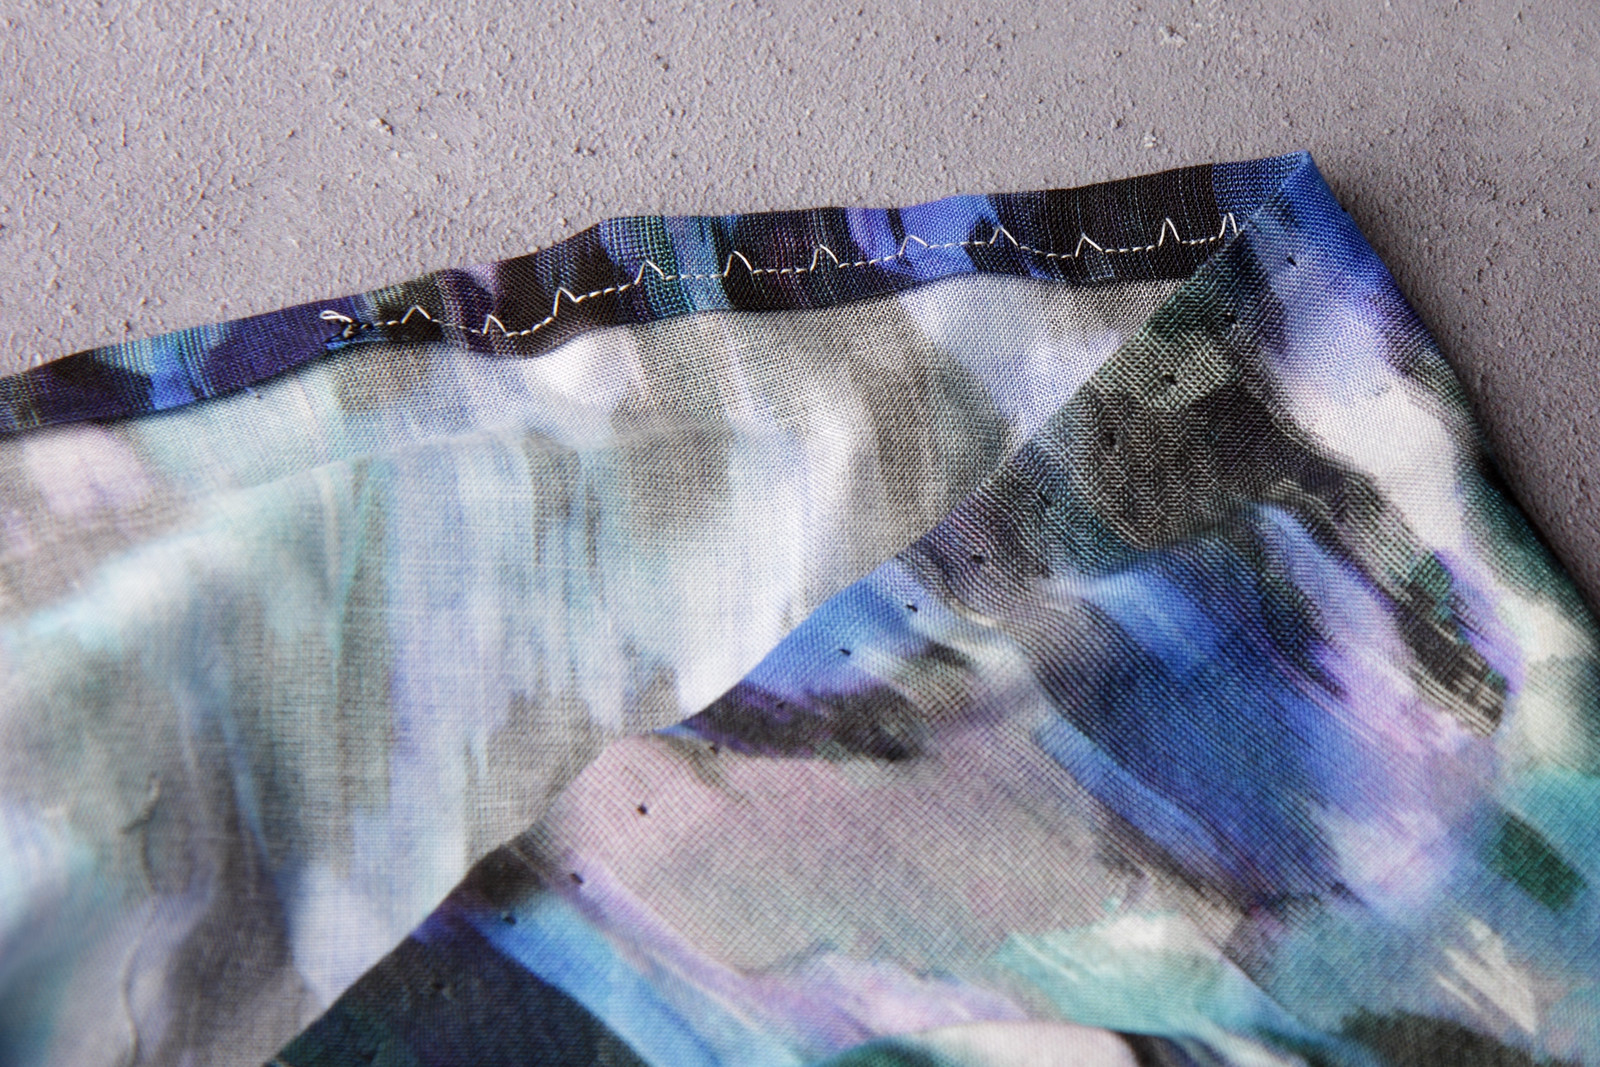
Blind hem test using the Janome Atelier 3 – OK for a first effort but the stitches are visible. I managed to get a better finish on the final garment.
It was completed in days instead of weeks, thanks in no small part to the amazing new sewing machine. I don’t know how I ever lived without the programmable needle up, the auto lock stitch and auto thread cutter. These features seemed unnecessary to me previously but saved me so much time. The machine coped very well with both the viscose and the fine silk lining with the regular needle plate (although a special straight stitch needle plate for fine fabrics is available as an accessory), which I knew would have been repeatedly chewed up by my old machine.
And here is the finished garment:

I love everything about it. It has been a dream to wear during the hottest summer ever, especially with the silk lining which is a real hidden luxury.
If I were to make another (which I probably will) I would move the zip from the side to the back, add pockets and maybe lengthen it a little, but I am very happy with this one as it is.
